Growing and Using Indigo Plant: A Comprehensive Guide
The indigo plant is truly captivating and has a long history. It has over 750 species and has been used for thousands of years. People have used it to make a natural blue dye for textiles. This dye was important in ancient times, from Egypt to India.
This guide will take you on a journey into the world of indigo plants. We’ll cover their history, how to grow them, and their many uses. It’s perfect for gardeners, textile lovers, or anyone interested in natural dyes.
Key Takeaways
- Indigo plants have been used for thousands of years to produce a vibrant natural blue dye.
- The Indigofera genus encompasses over 750 species of trees, shrubs, and herbaceous plants.
- Indigo plants thrive in USDA Hardiness Zones 5 through 8 and require full sun exposure.
- Proper soil conditions, including well-drainage and a pH between 7.0 and 8.0, are crucial for successful indigo cultivation.
- Indigo plants can be propagated from seeds or cuttings, with seedlings often started in a greenhouse before transplanting.
Introduction to Indigo Plants
Indigo plants are part of the Indigofera genus, which includes over 750 types of trees, shrubs, and plants. They make a unique blue dye from the compound indican. This can be turned into indigotin, the main color agent. Indigofera tinctoria comes from Asia, and Indigofera suffruticosa is from Central and South America.
What are Indigo Plants?
Indigo plants are legumes in the pea family. They grow in subtropical and tropical areas, reaching up to six feet tall. These plants can fix nitrogen in the soil, making them useful in farming.
History and Significance of Indigo Dye
Indigo dye has a long history, used by ancient civilizations like Egypt, the Indus Valley, and Peru. It was valued for its deep color and lasting quality. After synthetic indigo was made in the late 1800s and early 1900s, indigo production went down. But, natural indigo is still a small part of the world’s indigo dye.
Now, indigo plants are still a key source of blue dye, mainly for denim. Natural indigo dye has unique color variations because of impurities. It makes up about 15% of the dyes for cotton.
“Indigo plants, as natural sources of blue dye, have been used in art and textiles across civilizations.”
Varieties of Indigo Plants
The Indigofera genus is quite large, but some species stand out for their use in farming and dye making. These include Indigofera amblyantha, Indigofera decora, Indigofera heterantha, and Indigofera kirilowii. Each can grow well in different parts of the United States.
Indigofera amblyantha comes from China and is a tough perennial that makes a deep blue dye. Indigofera decora is from East Asia and is valued for its looks and quality indigo. Indigofera heterantha is from the Himalayas and can handle cooler weather. Indigofera kirilowii is from northeast Asia and is known for its strong dye and flexibility in growing conditions.
These four Indigofera species give growers and dye lovers many choices. By knowing what makes each variety special, people can pick the best plants for their area and dye needs.
“Proper scouring of cloth or yarn is essential before dyeing to ensure good penetration of the dye and level dyeing; scouring requirements differ for protein fibers like silk and wool compared to cellulose fibers like cotton, linen, and hemp.”
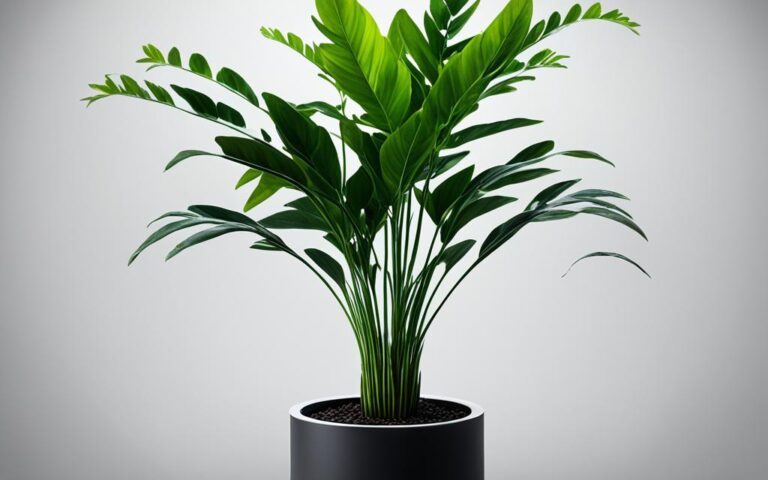
Anatomy and Features of Indigo Plants
Indigo plants belong to the Indigofera genus and have over 750 species. They grow from one to six feet tall and spread three to six feet wide. They spread out using suckers to form a ground cover.
Description of Leaves, Stems, and Flowers
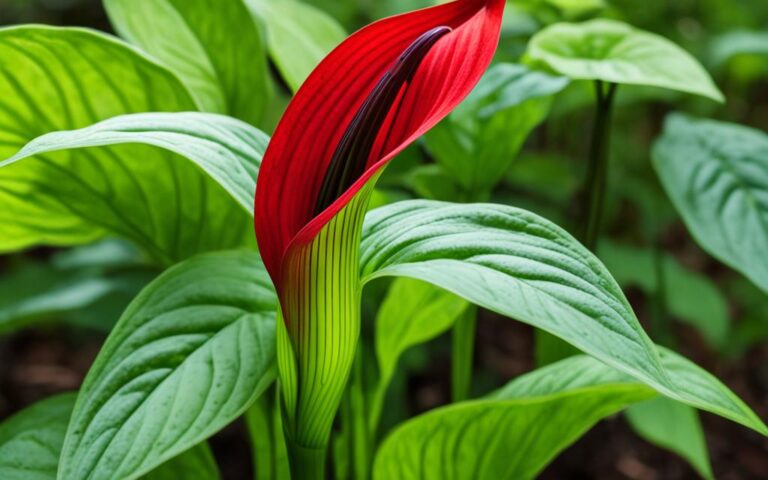
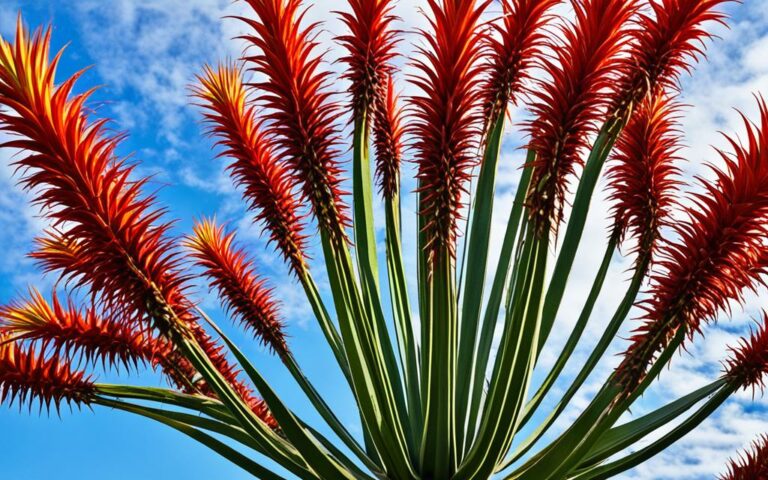
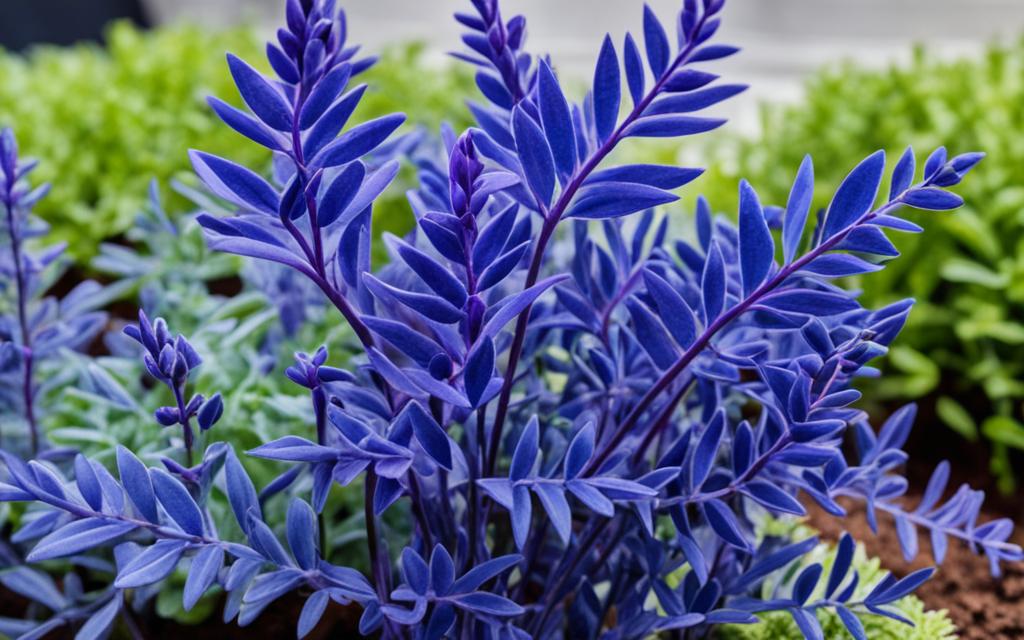
Indigo plants have pinnately compound, deciduous leaves. These leaves are four to eight inches long and have seven to 21 ovate to elliptical leaflets. The stems are hairy and the top ends in pink to purple blooms that are half to one and a half feet long.
Each flower is about an inch long. It has a tubular calyx with 4-5 teeth, five petals, ten stamens, and a pistil with a single style.
Special Characteristics of Indigo Plants
- Indigo plants belong to the Fabaceae family and can fix nitrogen, making them valuable in gardens.
- Their fruit is a long, cylindrical leguminous seed pod that holds 25-50 kidney-shaped, light to dark brown seeds.
- These plants show different pericarp thickness, fruit types, and how they flower, showing their diversity.
Indigo plants are important because they provide the valuable indigo dye used in textiles for thousands of years.
Ideal Growing Conditions for Indigo Plants
Indigo plants need certain conditions to thrive. They grow best in USDA Hardiness Zones 5 through 8, under full sun. They can handle some afternoon shade but do well with protection from strong winds.
Light, Temperature, and Humidity Requirements
These plants love lots of sunlight, needing 6 to 8 hours of direct sun daily. They can take temperatures from 60°F to 85°F. But, they don’t do well in extreme cold or heat.
They also prefer humidity levels between 40% to 60%. This is the perfect setting for them to grow well.
Soil and Water Needs
Indigo plants like soil that drains well and has a pH of 7.0 to 8.0. They can survive with little water but grow better with regular watering. When the top inch of soil feels dry, it’s time to water them.
Using an organic fertilizer in early spring helps them grow strong. It meets their nutrient needs all season.
- Indigo prefers well-draining, fertile soil and does well in California’s dry weather, making it suitable for cultivation in tropical climates.
- Indigo is classified as a zone 9-10 plant, indicating specific climatic requirements for optimal growth.
- Indigo can be grown as an annual in colder climates but thrives as a perennial in Zone 9 and above.
“It took exactly two weeks for Japanese Indigo seeds to germinate inside the greenhouse when seeded in January.”
Knowing what indigo plants need for light, temperature, humidity, soil, and water helps gardeners. This way, they can create the perfect conditions for a successful harvest of this valuable crop.
Propagating Indigo Plants
Indigo plants can be easily grown from seeds or semi-hardwood cuttings. For those in areas with short growing seasons, seed sowing is a great choice. Soaking the seeds in warm water overnight can help them germinate faster, usually within a week.
Growing from Seeds
It’s best to start indigo seeds indoors in a greenhouse or a protected spot. They need warmth and moisture to germinate well. You can buy high-quality indigo seeds from trusted sources like Rowland Ricketts, Graham Keegan, and Buaisou online.
Taking Cuttings
Using cuttings is another way to grow indigo plants. Take softwood cuttings in late spring or summer. For semi-hardwood cuttings, the best time is mid to late summer. Hardwood cuttings work well in zones 10-12 and need moist soil.
Make sure cuttings have 3-4 sets of leaves before you take them. Remove the lower sets before putting them in water or soil. Indigo plants root well, so using a rooting hormone is optional. When you feel resistance with a gentle tug, it means roots have formed, taking about 10 to 14 days.
After propagation, new indigo plants need a hardening-off period before going outside. This helps them adjust to outdoor conditions.
Planting and Transplanting Indigo Plants
Indigo seedlings are sensitive to frost and should be moved outside when the frost risk ends, usually in spring. This can happen as early as April, right after the 10% frost date. Moving them out quickly makes the most of the growing season and increases yields.
Transplanting Methods
There are different ways to move indigo seedlings, based on the size of the farm and what tools you have. Here are some common methods:
- Hand Transplanting: You can move indigo seedlings by hand using tools. This method is gentle, reducing the risk of shock to the plants.
- Mechanical Transplanting: For bigger farms, machines can be used. These can be walk-behind tools, tractor attachments, or fully automated systems.
Choosing the right time to transplant is crucial for indigo plants. Keep an eye on the last frost date and transplanting timing. This helps ensure a successful indigo crop.
| Transplanting Method | Advantages | Considerations |
|---|---|---|
| Hand Transplanting |
|
|
| Mechanical Transplanting |
|
|
When picking a transplanting method, think about your farm’s size, what you have available, and how to reduce stress on the frost-sensitive indigo plants.
Caring for Indigo Plants
Indigo plants are known for their beautiful blue colors. They need careful care to stay healthy and vibrant. Pruning, fertilizing, and watering are key to their well-being.
Pruning Techniques
Indigo plants act like herbaceous perennials, dying back in winter and coming back in spring. To keep them looking good, prune them in late winter or early spring. Cut the stems to the ground or trim last year’s growth to the first living node.
It’s important to remove suckers as they appear. This stops the plant from spreading too much. It helps the plant focus on growing strong, healthy leaves and flowers.
Fertilizing and Watering
Give indigo plants organic fertilizer in early spring to help them grow. Adding a light mulch, like straw or wood shavings, keeps the soil moist and protects the plants in winter.
Water indigo plants deeply when the top inch of soil is dry. This method helps them handle drought better and stay healthy.
“Healthy indigo plants should have large, relaxed, dark green leaves. Signs of stressed plants include diminished leaf growth, yellowish leaves pointing upwards and turning red on the edges.”
By pruning, fertilizing, and watering correctly, gardeners can help indigo plants grow well. This ensures they produce the stunning blue colors we love.
Pest and Disease Management for Indigo Plants
Indigo plants are tough but can face pests and diseases. Keeping them healthy is key for a good harvest. Using organic methods helps protect your indigo and ensures a great yield.
The root-knot nematode is a big problem for indigo. These tiny worms make plants look sick, stunt their growth, and cause roots to swell. Another pest, the psyllid Arytaina punctipennis, spreads diseases among indigo plants, hurting the crop.
Other pests like aphids, scale, mealybugs, and spider mites can also harm indigo. You can fight them with crop rotation, trap crops, and careful chemical use.
The Genista Broom moth caterpillar can eat indigo plants right down to the ground. But, indigo plants often grow back quickly after being eaten. A natural pesticide called Bacillus thuringiensis (Bt) works well against these pests.
Hairy indigo (Indigofera hirsuta) can be a weed in indigo fields. It grows thick, blocking fungicides and making diseases spread. Herbicides like Cadre, Cobra, and Storm work well on young hairy indigo plants but not as well on taller ones.
By watching your plants closely and using organic pest control, you can keep indigo plants healthy. This approach helps with pest and disease control in your organic management efforts.
Harvesting Indigo Plants
The best time to pick indigo leaves is right before they start to flower. This is when they have the most indican content. Growers have several ways to harvest, like hand harvesting, using walk-behind harvesters, or tractor-mounted machines.
Harvesting Methods
For small farms, hand harvesting indigo leaves works well. Growers cut or snip leaves, taking off half at a time. This lets the plant keep growing and making more leaves for later.
Bigger farms might use mechanical harvesting. They might use walk-behind or tractor machines. These tools can quickly and efficiently pick the leaves, making it easier for large farms.
| Harvesting Method | Advantages | Considerations |
|---|---|---|
| Hand Harvesting |
|
|
| Mechanical Harvesting |
|
|
It’s important to take off only half of the leaves at a time. This lets the plant keep growing and making new leaves. Getting the timing right and being careful when harvesting keeps the indigo plants healthy and productive.
Extracting Dye from Indigo Plants
The striking blue dye from indigo plants comes from the extraction and fermentation of indican. This compound is found in the leaves. It turns into indigotin, the main color agent that gives the blue color. There are traditional and modern ways to get and use the dye from indigo leaves.
Turning indican into indigotin is a key step. This happens through fermentation. The indigo leaves are soaked in water. This lets natural enzymes break down the indican.
Then, the solution gets treated with an alkali like soda ash. This raises the pH and makes the indigotin pigment form.
The indigotin is dried and turned into a fine, blue powder. This powder can dye fabrics, fibers, and more. Using this natural dye extraction method is better than synthetic dyes because it’s sustainable and eco-friendly.
In Japan, the Aizome dyeing method uses Japanese indigo (Persicaria tinctoria) for blue colors. The plant’s leaves and stems are harvested, fermented, and processed to get the indigotin dye. This dye is then carefully put on fabrics.
| Key Steps in Indigo Dye Extraction | Description |
|---|---|
| Leaf Harvesting | Collect the leaves and stems of indigo plants at the optimal time (typically July-August for Japanese indigo). |
| Leaf Steeping | Steep the collected leaves and stems in water for 24 hours to release the indican compound. |
| Alkaline Treatment | Add soda ash to the solution to raise the pH to around 9, causing the indigotin pigment to precipitate. |
| Aeration | Aerate the solution for 10-15 minutes using an electric whisk to oxidize the indigotin and intensify the blue color. |
| Settling and Concentration | Allow the indigotin pigment to settle for at least 3 days, then carefully remove the water and concentrate the pigment over several cycles. |
| Drying | Dry the concentrated indigotin pigment, resulting in a fine, blue indigo powder ready for use as a natural dye. |
By learning and using these methods, indigo lovers and dyers can make vibrant, long-lasting textiles. These celebrate indigo’s rich history and its sustainable future.
Indigo Plant Benefits and Uses
Indigo plants are more than just a source of natural blue dye. They belong to the legume family and help make soil fertile by fixing nitrogen. This makes them great for gardens and landscapes, adding beauty and helping the environment.
Indigo has been used in traditional medicine for its healing properties. Studies show it could help with psoriasis and ulcerative colitis. It’s also used in skincare and haircare products because of its benefits for the skin and hair.
| Indigo Plant Benefits | Applications |
|---|---|
| Natural Dye | Textile Dyeing, Traditional Arts |
| Soil Fertility Enhancement | Landscape Design, Sustainable Horticulture |
| Medicinal Properties | Anti-inflammatory, Antimicrobial, Dermatological Conditions |
| Nutritional Value | Indigo Tea, Food Coloring |
Indigo is now used in modern food and drinks too. Indigo tea is popular for its blue color, smell, and health benefits. It’s a versatile plant, valuable in dyeing, art, gardening, and health.
Tips for Successful Indigo Plant Cultivation
Growing indigo plants needs a careful eye and deep knowledge of their needs. Gardeners and farmers must focus on details to get good yields and quality dye.
Choosing the right spot for indigo is key. These plants do well in soil that drains well and is rich in nutrients. They also need full sun. Making sure the soil’s pH and moisture are right is crucial for growth.
There are two ways to start indigo plants: from seeds or cuttings. Starting from seeds takes time because only about 30% may germinate, even with fresh seeds. But, cuttings are a reliable way to grow plants that are similar to your favorites.
Looking after indigo plants is important. You should prune them, feed them, and keep them watered to help them grow and produce dye. Watch out for pests and diseases like aphids, mites, and leaf spot. Deal with problems quickly to keep your plants healthy.
| Cultivation Best Practices | Troubleshooting Tips |
|---|---|
|
|
By using these tips, gardeners and farmers can grow healthy indigo plants. This helps them use these plants to their full potential.
“Indigo was once South Carolina’s second-largest export, bringing considerable wealth to the colony. Today, the revival of indigo cultivation offers an opportunity to reconnect with this important part of our agricultural heritage.”
Conclusion
Indigo plants are full of history, beauty, and practical uses. They go back to ancient times in textile dyeing and now help us in sustainable gardening and design. These plants are versatile and keep inspiring us. By learning how to grow and use them, we can make the most of indigo’s amazing qualities. This helps us move towards a future that is vibrant and good for the planet.
This guide has shown us how important indigo plants are in our history and today. They used to be a big deal in the 18th century and now they’re a green alternative to synthetic dyes. This makes them key in making textiles without harming the environment. As we look for ways to lessen the fashion industry’s impact, indigo can be a big help.
This guide has taken us through the different types of indigo, their special traits, and how to grow them. It gives readers the tools to use indigo’s full potential. Whether you love gardening, textiles, or just find indigo fascinating, this guide is a great tool for exploring this amazing plant.
FAQ
What are Indigo Plants?
Indigo plants are part of the Indigofera genus. They include over 750 species of trees, shrubs, and plants. These plants are famous for their natural blue dye. People have used them for thousands of years.
What is the History and Significance of Indigo Dye?
Indigo dye has a long history. Ancient civilizations like Egypt, the Indus Valley, and Peru used it. They valued it for its deep color and lasting quality.
What are Some of the Most Popular Indigo Plant Varieties?
Some popular Indigofera species include Indigofera amblyantha, Indigofera decora, Indigofera heterantha, and Indigofera kirilowii. These are well-suited for growing and making dye.
What are the Key Features of Indigo Plants?
Indigo plants grow one to six feet tall and spread three to six feet wide. They spread out and can cover the ground. Their leaves are long and have many leaflets in green colors.
They produce flowers in pink to purple colors. After that, they have seed pods that look like beans.
What are the Ideal Growing Conditions for Indigo Plants?
Indigo plants grow best in USDA Hardiness Zones 5 through 8. They need full sun and well-draining soil. The soil should be slightly alkaline, between 7.0 and 8.0.
They can handle some drought but prefer regular watering. Water them when the top inch of soil feels dry.
How can Indigo Plants be Propagated?
You can grow indigo plants from seeds or cuttings. Start seeds in a greenhouse or a warm place. They need warmth and moisture to grow.
For cuttings, take them in summer. Root them in a mix of peat moss and perlite. Use a rooting hormone to help them grow roots.
When is the Best Time to Transplant Indigo Plants?
Move indigo seedlings outside after the last frost. This is usually in spring. Moving them out early helps them grow and produce more.
How should Indigo Plants be Cared for?
Indigo plants may act like perennials in cooler areas. Cut them back in late winter or early spring. Use a light mulch to keep the soil moist and protect them from cold.
Remove any suckers that grow. This stops them from spreading too much.
How can Pests and Diseases be Managed for Indigo Plants?
Keep an eye on your indigo plants and use pest control methods that are safe for the environment. This will help them stay healthy and productive.
When is the Optimal Time to Harvest Indigo Leaves?
Harvest indigo leaves before they start flowering. This is when they have the most dye. You can pick them by hand or with machines.
How is the Blue Dye Extracted from Indigo Plants?
To make blue dye, extract and ferment the compound indican from indigo leaves. This turns it into indigotin, which gives the dye its blue color.
What are the Benefits and Uses of Indigo Plants?
Indigo plants are very useful. They provide natural blue dye for textiles and art. They also help the soil by adding nitrogen.
People value them for their beauty and their role in making the soil fertile.